Turning your Raspberry Pi into a Dashboard
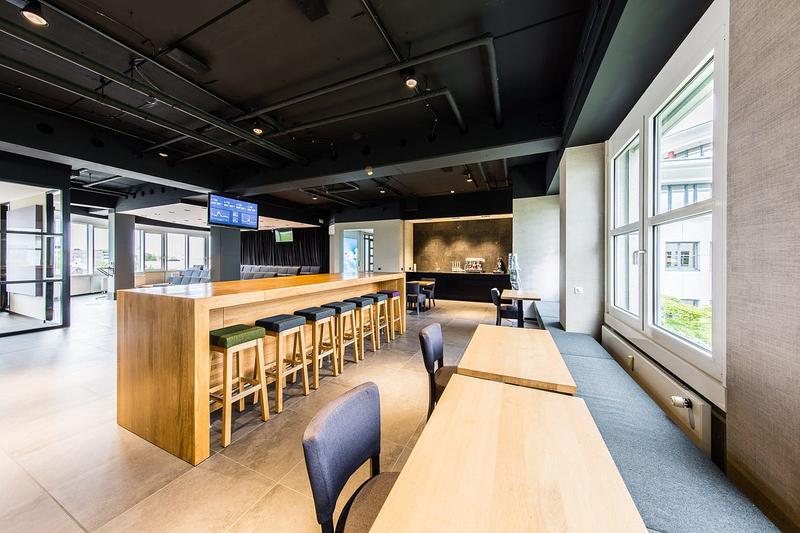
In the Scrivito office at Infopark in Berlin, we love dashboards. Here’s our recipe how we set up our Raspberry Pi’s for Geckoboard. It only takes about 10 minutes. In the Scrivito office at Infopark in Berlin, we love dashboards. We’ve put a lot of them in our office so everybody knows if our systems are up and running, if our office internet connections are doing okay — or sometimes people just take a look know what time it is. Short: A dashboard is a must-have for any SaaS company.
We’re using Geckoboard to cloud-power our dashboard. It’s only $25/month and it includes great functionalities. They offer you a lot more out-of-the-box than you could manually build for 25 bucks. So get an account and sign up.
But having a great dashboard only brings you so far — the question is, how to visualise it. We’ve already got a lot of TV screens in every room (which are powered by AppleTVs and AirPlay, so we don’t need any HDMI cables).
So we looked for a cheap, reliable and easy solution to display our dashboards on these screens. And what could be better suited as a Raspberry Pi 3.
Of course you don’t want to spend a lot of time to manually set up a dashboard — and you’d like to display it automatically in full screen on your beautiful HD display.
So here’s our recipe how we set up our Raspberry Pi’s for Geckoboard. It only takes about 10 minutes.
SD card preparations on your Mac
Find out using Disk Utility.app or diskutil list, which /dev at device your SD card is mounted. Mine mounts usually at rdisk2, so first download the package, unzip it and transfer it to the SD card:
wget
[https://downloads.raspberrypi.org/raspbian_latest](https://downloads.raspberrypi.org/raspbian_latest)
unzip
raspbian*latest # and insert SD using an adapter into MBPdiskutil unmountDisk
/dev/rdisk2
dd bs=1m if=2016-09-23-raspbian-jessie.img of=/dev/rdisk2
diskutil eject /dev/rdisk2
Pro tip: After the installation is done, you can again clone the SD card using _dd*, copy it to more SD cards and effectively cloning your Pi.
Remote Installation via ssh
Hook up your Pi via Ethernet to your network, find out its IP and do the rest of the installation via SSH and change your password immediately (Tip: Use 1Password to create and store secure passwords):
ssh pi@<ipaddress> # password: raspberrypasswdFirst of all you should create an
ssh directory and upload your ssh keys, e.g.:

mkdir .ssh
cat >.ssh/authorized_keys <<EOF
ssh-ed25519 ssh-ed25519 AAAAC\_\_REPLACE_WITH_YOUR_KEY\_\_pm4tj56K87GzrK
EOFBackup the autostart file and replace it with your own so that Chrome boots
up straight when booting the Pi (change your URL to your
[Geckoboard sharing URL](https://support.geckoboard.com/hc/en-us/articles/202333706-Sharing-a-dashboard-Secure-sharing-links-)):

cp .config/lxsession/LXDE-pi/autostart
.config/lxsession/LXDE-pi/autostart.distcat >.config/lxsession/LXDE-pi/autostart
<<EOF
@chromium-browser --kiosk --disable-overlay-scrollbar --noerrdialogs
--disable-session-crashed-bubble --disable-infobars
<https://mycompany.geckoboard.com/dashboards/YOUR\_URL>
@unclutter -idle 0
EOF
If you’ve got a fixed IP internet connection, you might want to set up IP restrictions to access the dashboard in your Geckoboard configuration.
Afterwards we’ll secure the system, update to the latest package versions and install some convenience stuff:
sudo su -passwd # Change to your new root passwordapt-get update -y ; apt-get dist-upgrade -y ; apt-get autoremove -yapt-get install x11-xserver-utils unclutter ttf-mscorefonts-installer x11vnc xterm vim screen dnsutils rcconf silversearcher-ag mlocate
Then start raspi-config and do some basic configuration:
- 7 Advanced Options > A2 Hostname > dashboard (or whatever)
- 3 Boot Options > B1 Desktop/CLI > B4 Desktop Autologin
- 4 Intl Options > I1 Change Locale (I usually disable en_GB using the space key, enable en_US.UTF8, fallback C.UTF8)
- 4 Intl Options > I2 Change Timezone (in our case Europe/Berlin)
- 4 Intl Options > I4 Change Wi-fi Country (in our case DE — Germany)
- Reboot now After rebooting, your dashboard should already show a Geckoboard screen. It still looks ugly, has scrollbars and no fullscreen, but no worries, we’ll get there in a moment!
I’ve got some convenience dotfiles including aliases in bashrc and my vimrc. I can’t live without these — you might have your own version of your preferred bashrc file, feel free to skip this step:
sudo su -curl -so /etc/bashrc.local
<https://raw.githubusercontent.com/thomaswitt/dotfiles/master/etc/bashrc.local>
echo
"test -e \"/etc/bashrc.local\" && . /etc/bashrc.local" >>/etc/bash.bashrccp
/etc/vim/vimrc /etc/vim/vimrc.dist
curl -so /etc/vim/vimrc
<https://raw.githubusercontent.com/thomaswitt/dotfiles/master/etc/vimrc>
Now we’re going to harden the ssh daemon: No root login, only secure ciphers, etc. — Do not skip this step! Security is important!Make sure that you’ve uploaded your ssh key before and tested in a new shell that your ssh login is still working. Otherwise you’ll lock yourself out from your Pi.
cp /etc/ssh/ssh_config /etc/ssh/ssh_config.dist
curl -so /etc/ssh/ssh_config
[https://raw.githubusercontent.com/thomaswitt/dotfiles/master/etc/ssh/ssh_config](https://raw.githubusercontent.com/thomaswitt/dotfiles/master/etc/ssh/ssh_config)cp
/etc/ssh/sshd_config /etc/ssh/sshd_config.dist
curl -so /etc/ssh/sshd_config
<https://raw.githubusercontent.com/thomaswitt/dotfiles/master/etc/ssh/sshd\_config>
| grep -v AllowUsers >/etc/ssh/sshd_config
echo "DebianBanner no" >> /etc/ssh/sshd_config/etc/init.d/ssh restart# Remove
some annoying messages and replace by a security warning
true >/etc/motd
curl -so /etc/issue.net
<https://raw.githubusercontent.com/thomaswitt/dotfiles/master/etc/issue.net>
Let’s now fine-tune the X11 config that the screen doesn’t go blank, the cursor doesn’t show and we’re going to have a nice HDMI display:
cat >/etc/xdg/lxsession/LXDE-pi/autostart <<EOF
@lxpanel --profile LXDE-pi
@pcmanfm --desktop --profile LXDE-pi
@xset s off
@xset -dpms
@xset s noblank
@sed -i 's/"exited_cleanly": false/"exited_cleanly": true/'
~/.config/chromium/Default/Preferences
EOFcp /etc/lightdm/lightdm.conf /etc/lightdm/lightdm.conf.dist
sed -i 's/#xserver-command=X/xserver-command=X -s 0 dpms/'
/etc/lightdm/lightdm.confcp /boot/config.txt /boot/config.txt.dist
sed -i 's/#hdmi_force_hotplug=1/hdmi_force_hotplug=1/' /boot/config.txt
sed -i 's/#disable_overscan=1/disable_overscan=1/' /boot/config.txt
sed -i 's/#config_hdmi_boost=4/config_hdmi_boost=4/' /boot/config.txt
Then we’d like to check whether our network is already available at boot in order to avoid annoying Chrome error messages:
cat >/boot/IPCheck.py <<EOF#!/usr/bin/env python
import socket
from time import sleepdef checknetwork():
 ip = False
 try:
 s = socket.socket(socket.AF_INET, socket.SOCK_DGRAM)
 s.connect(('google.com', 0))
 ip = s.getsockname()[0]
 s.close()
 except socket.error:
 return False
 else:
 return ipdef main():
 x = checknetwork()
 while x == False:
 print "Checking network ..."
 x = checknetwork()
 sleep(1)
EOF
chmod +x /boot/IPcheck.pycp /etc/rc.local /etc/rc.local.dist
sed -i 's/# By default this script does nothing./\/usr\/bin\/python
\/boot\/IPcheck.py/' /etc/rc.local
We’re nearly there. Additionally, we’re blanking our screens at night in order to save some energy:
cat >/usr/local/bin/screen.sh <<EOF

# !/bin/bash

if [ \$# -lt 1 ]; then
 echo "Syntax: \$0 (on|off)"
 exit
fi

if [ \$1 == "on" ]; then
 tvservice -p
 sleep 2
 chvt 6 && chvt 7
 echo "Switched HDMI on"
fi

if [ \$1 == "off" ]; then
 tvservice -o
 echo "Switched HDMI off"
fi
EOF
chmod +x /usr/local/bin/screen.shcrontab <<EOF
0 19 \* \* _/usr/local/bin/screen.sh off >/dev/null
0 8_ \* \* /usr/local/bin/screen.sh on >/dev/null
EOF
That’s it. Let’s reboot one last time:
rebootr … and your dashboard should shine! Happy dash-boarding!
Additional notes
If you’d like to use the WiFi of the Raspberry Pi 3 instead of ethernet, the configuration works like this:
sed -i 's/iface wlan0 inet manual/iface wlan0 inet dhcp/'
/etc/network/interfaces# Change SSID, PSK and country
cat >/etc/wpa_supplicant/wpa_supplicant.conf <<EOF
country=de
network={
 ssid="YOUR_WIRELESS_NETWORK_NAME"
 psk="YOUR_WIRELESS_NETWORK_PASSWORD"
 proto=RSN
 key_mgmt=WPA-PSK
 pairwise=CCMP
 auth_alg=OPEN
}
EOF
If you need a terminal, e.g. to copy/paste login information:
x11vnc -usepw -forever -display :0 # choose password
export DISPLAY=”:0”
xterm
Open the connection on your Mac via:
open vnc://HOSTNAME.local